Ingredients
Equipment
Method
Prepare Your Mise en Place
- Pour your vegetable or chicken broth into a medium saucepan and bring it to a gentle simmer over medium heat. Keep it simmering throughout the entire cooking process—this ensures each addition of broth is warm when it hits the rice, promoting even cooking and proper starch release. Pro tip: Cold broth will shock the rice and disrupt the cooking process, so this step is crucial for success.
- Dice your shallot finely and mince your garlic. Having everything prepped before you start cooking is essential because once you begin the risotto process, you need both hands managing the rice and broth. Pro tip: Professional risotto chefs call this mise en place, and it's the difference between a smooth cooking experience and a hectic one.
Toast the Rice and Build Flavor
- Heat olive oil and 2 tablespoons of butter together in your large skillet over medium heat. Once the butter is foaming, add the diced shallots and cook for 2-3 minutes, stirring frequently, until they become translucent and fragrant. Pro tip: Don't brown the shallots—you want them soft and sweet, not caramelized.
- Add the minced garlic and cook for another 30 seconds until fragrant. Then add your arborio rice, stirring constantly for 1-2 minutes. You'll hear a gentle clicking sound as the rice moves around the pan, which indicates proper toasting. Pro tip: Toasting the rice without liquid is key to developing a subtle nutty flavor that distinguishes restaurant-quality risotto. This step should not be skipped.
- Pour in the white wine and stir continuously until the rice absorbs all the liquid, about 1-2 minutes. You should see the liquid gradually disappear and the rice become slightly translucent around the edges. Pro tip: The wine adds acidity and depth—don't skip it or substitute it with vinegar, which would be too harsh.
Add Broth Gradually and Stir Constantly
- Using a ladle, add about 1 cup of warm broth to the rice and stir constantly over medium heat. Continue stirring until the rice absorbs most of the liquid, which typically takes 2-3 minutes. You should see the mixture transition from liquidy to creamy as the rice releases its starches. Pro tip: Constant stirring is not negotiable—it releases starch from the rice grains, creating natural creaminess. This is the meditative part of how to make risotto.
- Add another ladle of warm broth (about 3/4 cup) and repeat the process. Continue this pattern, adding broth one ladle at a time and stirring constantly, for approximately 16-18 minutes total. The rice should gradually go from firm to tender with a slight firmness in the center. Pro tip: Look for a grain of rice to bend easily when you press it between your fingers—this indicates proper doneness. This is called 'al dente' in risotto cooking.
- Taste the rice around the 15-minute mark. The grains should be creamy and tender but still have a slight resistance when you bite them. If they're still too firm, continue adding broth and stirring. Pro tip: Risotto doesn't require an exact amount of broth because it depends on how quickly your rice absorbs liquid. Always taste and adjust rather than following timing too rigidly.
Incorporate the Spring Peas
- When your rice is nearly cooked through (about 16-17 minutes into the process), add the fresh or frozen spring peas. Stir them in and continue cooking for 2-3 more minutes until the peas are heated through. If using frozen peas, add them directly without thawing. Pro tip: Adding peas at the end preserves their bright green color and fresh flavor better than cooking them the entire time.
- The mixture should now look creamy and flowing, not dry or thick. If it seems too thick, add a bit more warm broth or a splash of pasta water to reach your desired consistency. Pro tip: Remember that risotto will continue to thicken slightly as it cools, so it should look slightly looser on the stove than your final serving texture.
Finish with Butter, Cheese, and Aromatics
- Remove the pan from heat. Add the remaining 1 tablespoon of cold butter and the freshly grated Parmigiano-Reggiano cheese. Stir vigorously for about 1 minute until the cheese melts completely and the risotto becomes silky and glossy. Pro tip: This final step, called 'mantecatura' in Italian, is what creates that signature creamy texture. Cold butter and cheese stirred off heat create emulsion magic.
- Season with sea salt and freshly ground black pepper to taste. Remember that the parmesan is already salty, so taste before adding more salt. Pro tip: Fresh black pepper makes a noticeable difference—pre-ground pepper loses its aroma, so grind it fresh if possible.
- Stir in the fresh lemon zest and about half of the mint if using. Reserve the remaining mint for garnish. Pro tip: Lemon zest brightens the pea flavor beautifully and adds a spring-like freshness to your spring pea risotto.
Plate and Serve Immediately
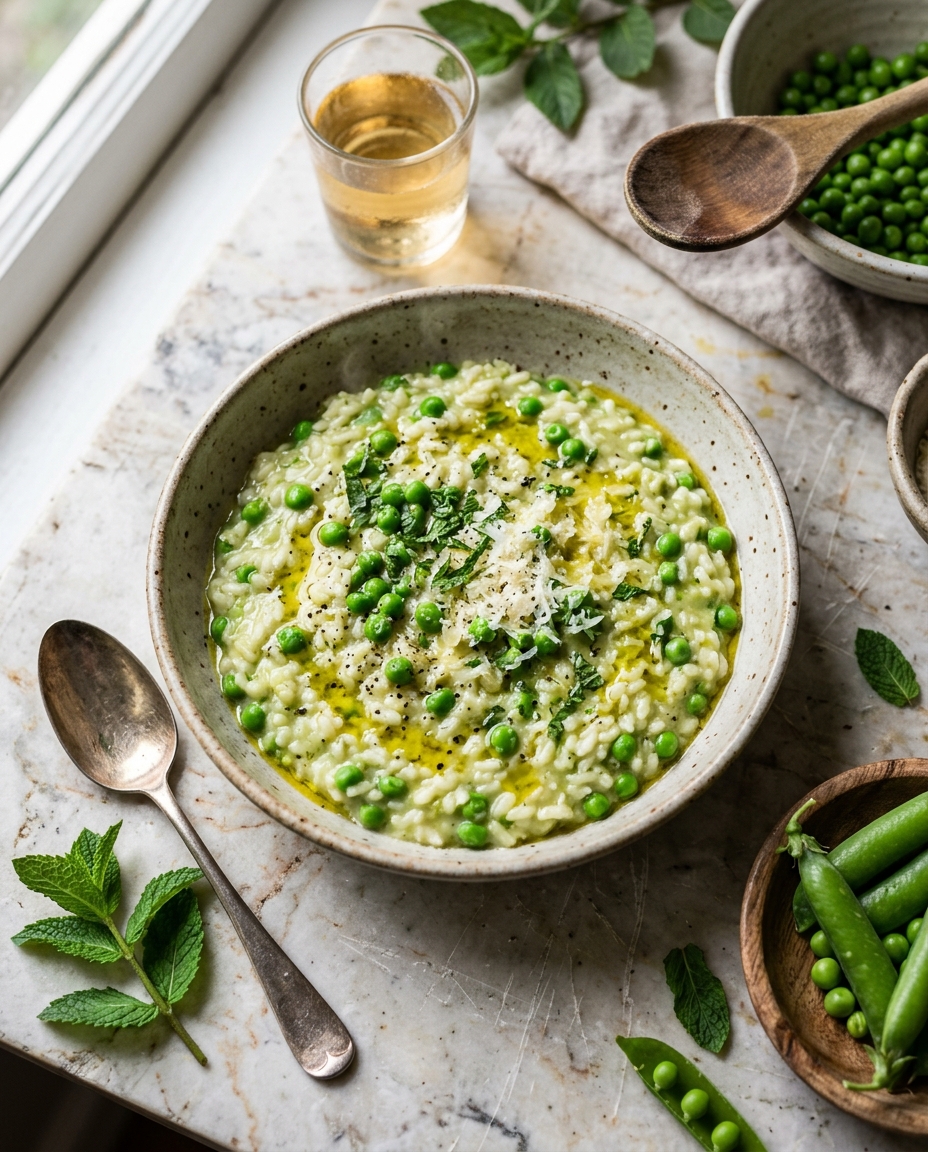
- Divide the spring pea risotto among serving bowls and garnish with remaining fresh mint, a small drizzle of extra virgin olive oil, and a few red pepper flakes if desired. Serve immediately while the risotto is hot and creamy. Pro tip: Risotto doesn't hold well and will continue to thicken as it sits, so have your guests ready to eat when you plate it. This is true restaurant-style service.
Notes
- Keep your broth warm and simmering throughout cooking—cold broth disrupts the risotto process
- Stir constantly for 16-18 minutes to release rice starch and create natural creaminess
- Taste rice around the 15-minute mark; it should be tender but still slightly firm in the center (al dente)