Ingredients
Equipment
Method
Prepare the Chicken
- Remove chicken thighs from refrigerator 15-20 minutes before cooking to bring them to room temperature. This ensures even cooking throughout. Pat them completely dry with paper towels—this step is crucial for achieving crispy skin. Season all sides generously with salt and black pepper. Pro tip: Dry chicken is the secret to golden, crispy skin. Don't skip patting them dry!
Make the Honey Garlic Sauce
- While the chicken comes to room temperature, whisk together the minced garlic, honey, soy sauce, rice vinegar, water, sesame oil (if using), and red pepper flakes in a small bowl. Stir until the honey is fully dissolved and the mixture is well combined. Taste and adjust seasonings—you want a balance of sweet, salty, and tangy. Pro tip: Make the sauce ahead of time; it keeps in the fridge for up to 3 days, making this a great meal prep recipe.
Sear the Chicken
- Heat olive oil in your large skillet over medium-high heat until it shimmers, about 1-2 minutes. Carefully place the chicken thighs skin-side down in the hot skillet. Do not move them for 5-6 minutes—you want that skin to develop a beautiful golden-brown crust. You should hear a satisfying sizzle when they hit the pan. Pro tip: Resist the urge to move the chicken around! Let the skin make contact with the hot pan for maximum crispiness.
- Flip the chicken thighs to the skin-side up position. Sear for another 3-4 minutes until the bottom is golden and the internal temperature reaches 165°F when measured with a meat thermometer in the thickest part of the thigh (not touching bone). Pro tip: Use tongs to flip gently so you don't tear the delicate skin you just crisped up.
Build the Glaze
- Pour your prepared honey garlic sauce over and around the cooked chicken thighs in the skillet. Tilt the pan slightly to distribute the sauce evenly. Bring the sauce to a gentle simmer over medium heat, then reduce heat to medium-low. Let it bubble gently for 3-5 minutes. Pro tip: This is where the magic happens—the sauce caramelizes and becomes thick and sticky, coating every piece of chicken.
- As the sauce reduces, tilt the skillet occasionally and spoon the sauce over the top of the chicken thighs. This helps create that gorgeous glossy coating. The sauce should reduce by about half and look thick and syrupy. When you draw a spoon through it, it should leave a trail. Pro tip: Watch the heat carefully during this step. Too high and the sauce burns; too low and it doesn't reduce properly.
Rest and Finish
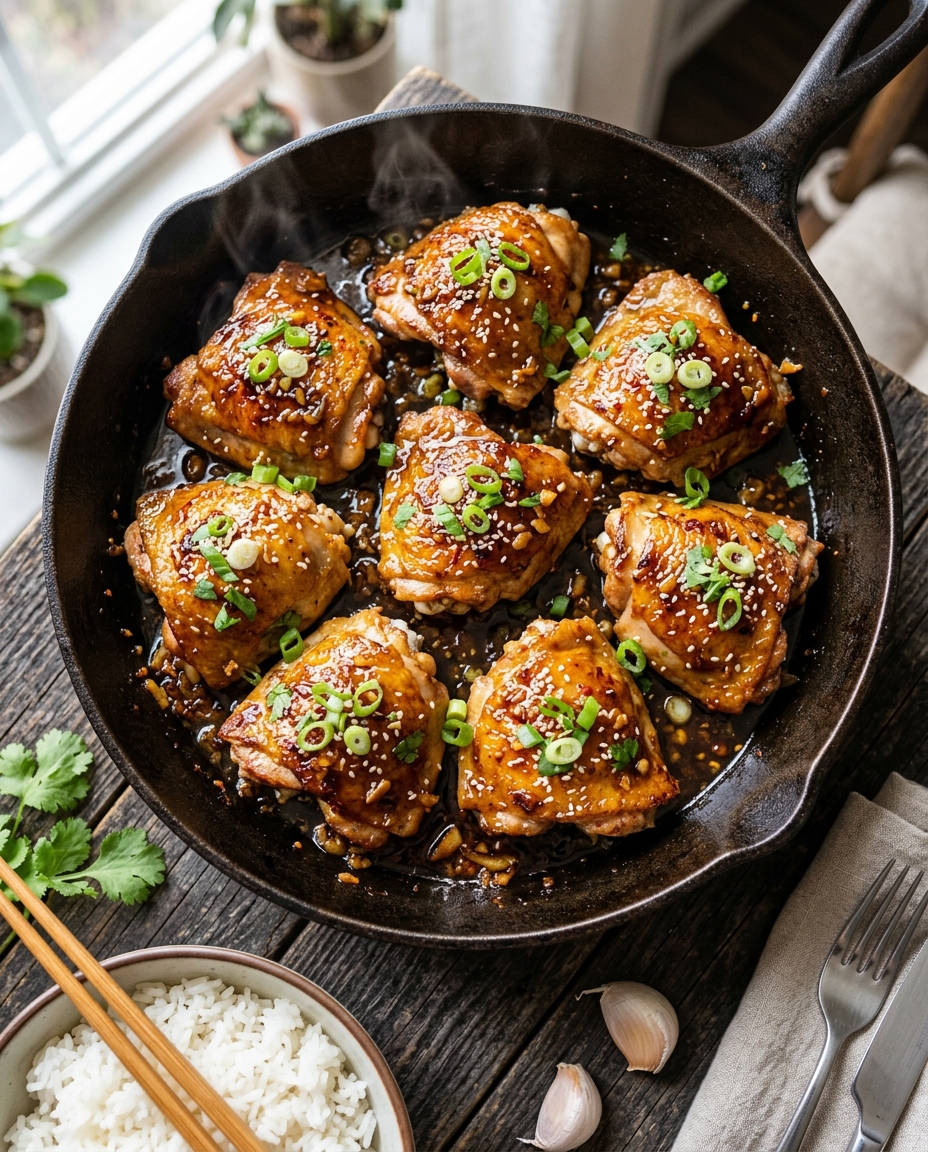
- Remove the skillet from heat. Let the honey garlic chicken thighs rest for 2-3 minutes. This allows the residual heat to finish cooking and the sauce to set slightly. Transfer to a serving platter, drizzling extra sauce from the skillet over the top. Pro tip: Don't skip the resting period—it makes a difference in how tender the chicken becomes.
- Garnish generously with sliced green onions and sesame seeds. The green onions add a fresh bite that balances the sweetness of the glaze, while sesame seeds add a subtle nutty crunch and visual appeal. Pro tip: Fresh garnishes elevate this from weeknight dinner to something special. They're worth the extra minute!
Alternative Baking Method
- If you prefer a less hands-on approach, you can bake this instead. After searing the chicken skin-side up in an oven-safe skillet, pour the honey garlic sauce over top. Bake uncovered at 400°F for 15-18 minutes until the internal temperature reaches 165°F. The sauce won't reduce as much as stovetop cooking, so if you prefer a thicker glaze, simmer it for 2-3 minutes on the stovetop after baking. Pro tip: This baking method is perfect when you're cooking for a crowd or want to free up your stovetop for side dishes.
Notes
- Pat chicken completely dry before searing for crispy, golden skin—moisture is the enemy of crispiness
- Use fresh minced garlic rather than jarred; the flavor difference is noticeable and worth the extra minute
- Make the honey garlic sauce ahead and refrigerate up to 3 days for easy meal prep