Ingredients
Equipment
Method
Prepare Your Pans and Preheat
- Preheat your oven to 350°F (175°C). Grease two 8-inch round cake pans with butter or non-stick spray, then line the bottoms with parchment paper rounds. Pro tip: This double-lining prevents sticking and makes removal effortless. The parchment ensures perfectly level cake bottoms.
Make the Cake Batter
- In a medium bowl, whisk together the flour, baking powder, and salt. Set aside. Pro tip: Sifting isn't necessary if you spoon and level the flour into your measuring cup. This prevents over-packing and ensures accurate measurements.
- In a large bowl, beat the softened butter and granulated sugar together for 2-3 minutes until light and fluffy. The mixture should be pale and increased in volume. Pro tip: This creaming step is crucial for an airy crumb. If your butter is too cold, it won't cream properly. If too soft, the cake becomes greasy.
- Add the eggs one at a time, beating well after each addition. Scrape down the bowl between additions to ensure everything is incorporated. Pro tip: Adding eggs slowly prevents curdling. If the mixture looks separated, don't worry—it comes together once you add the dry ingredients.
- Stir in the vanilla extract, then alternately add the dry ingredients and milk in three additions, beginning and ending with the dry mixture. Start with one-third of the flour mixture, then half the milk, then another third flour, remaining milk, and finally the last of the flour. Pro tip: Alternating prevents overmixing, which would result in a tough cake. Mix only until the streaks of flour disappear.
Bake the Cake Layers
- Divide the batter evenly between the prepared pans, smoothing the tops with a spatula. Pro tip: Use a kitchen scale for precision, or eye-ball equal amounts. Even layers bake more uniformly.
- Bake for 25-30 minutes until a toothpick inserted in the center comes out clean and the cakes are golden brown. They should spring back when lightly pressed. Pro tip: Set a timer for 25 minutes and check. Every oven bakes differently. Don't open the oven door before this time, as it can cause the cakes to collapse.
- Cool the cakes in their pans for 10 minutes, then invert onto wire racks and cool completely before assembling. Pro tip: This cooling time is essential. Assembling with warm cakes causes the whipped cream to melt and the berries to break down.
Prepare the Strawberry Filling
- Hull the strawberries and halve them (or quarter if particularly large). Place in a bowl and toss with the sugar and lemon juice. Pro tip: The sugar draws out the strawberries' natural juices, creating a light syrup. The lemon juice brightens the flavor and prevents browning.
- Let sit for 15-20 minutes at room temperature, stirring occasionally. This maceration develops deeper flavor. Pro tip: If you're in a hurry, this can be done earlier in the day or even the night before. The longer they sit, the more syrup they release.
Whip the Cream
- In a large chilled bowl, combine the cold heavy cream, powdered sugar, and vanilla extract. Beat with an electric mixer on medium speed for 1-2 minutes until stiff peaks form. Pro tip: Cold equipment matters tremendously. Refrigerate your bowl and beaters for 15 minutes before whipping. Don't overbeat or you'll end up with butter.
Assemble the Shortcake
- Place the first cake layer on your serving plate. Top with half of the whipped cream, spreading gently with an offset spatula. Pro tip: Reserve about one-quarter of the whipped cream for decorating the top.
- Scatter half of the macerated strawberries and their juices over the cream layer. Place the second cake layer on top. Pro tip: Some juice soaking into the cake is desirable—it keeps it moist. But drain excess liquid if there's more than 1/4 cup.
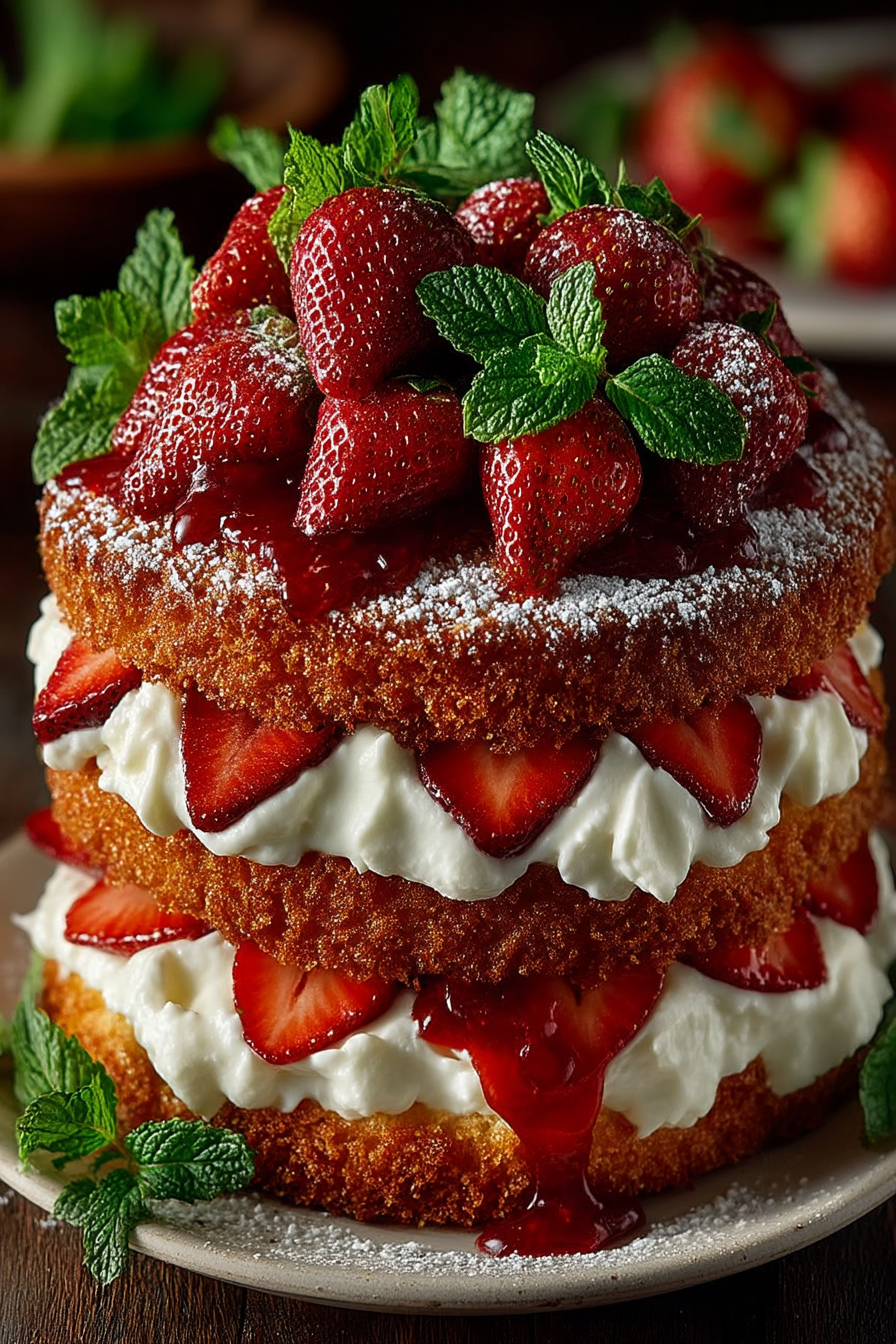
- Top with the remaining whipped cream, spreading evenly across the surface. Arrange the remaining fresh strawberries on top for garnish. Pro tip: This final topping is your showcase. Arrange the berries artfully—they're both functional and decorative.
Final Touches
- Serve immediately or refrigerate for up to 2 hours. Garnish with fresh mint leaves if desired. Pro tip: Best served within a few hours of assembly, as the cake will absorb moisture from the strawberries and whipped cream over time.
Notes
- Room temperature ingredients are essential for proper mixing and a tender cake crumb structure.
- Fresh, in-season strawberries make an enormous difference in final flavor—avoid underripe or mushy berries.
- The assembled strawberry shortcake is best served within 2 hours but can be refrigerated up to 2 days ahead.