Ingredients
Equipment
Method
Prepare the Strawberries
- Hull and halve your fresh strawberries, placing them in a bowl. Sprinkle with 2 tablespoons of granulated sugar and gently toss to combine. Let them sit at room temperature for 15-20 minutes, allowing the berries to release their natural juices. This creates a light syrup that will add incredible flavor to every layer of your strawberry cream cake. Pro tip: Don't skip this step! The maceration process is what elevates this easy strawberry cake from good to absolutely delicious. The juices will add moisture and intense strawberry flavor throughout.
Prepare Your Cake Base
- If using store-bought cake, slice it horizontally into two or three thin layers using a serrated knife. A good tip is to mark the sides with toothpicks at your desired height before cutting—this helps you create even layers. If using angel food cake, gently tear it into bite-sized pieces instead. Pro tip: If the store-bought cake is dense, you can lightly brush each layer with simple syrup or the reserved strawberry juice to add moisture and flavor.
Make the Whipped Cream
- Pour cold heavy whipping cream into a chilled mixing bowl. Using an electric mixer on medium-high speed, beat the cream for about 1-2 minutes until soft peaks form. Add powdered sugar and vanilla extract, then continue beating for another 30-45 seconds until stiff peaks form. Pro tip: Watch carefully—overbeating will turn your whipped cream into butter! The moment you see stiff peaks hold their shape, stop the mixer immediately. Cold equipment is key to success.
Assemble the Strawberries and Cream Cake
- Place your first cake layer on a serving plate or cake stand. Spread a generous layer of whipped cream (about 1/2 to 3/4 cup) over the cake using an offset spatula. Arrange a layer of macerated strawberry halves over the cream, reserving some of the juices. Pro tip: Don't skimp on the strawberries—this is what makes your strawberries and cream cake special! Use about one-third of your prepared berries for each layer.
- Repeat with your second cake layer, another layer of whipped cream, and another layer of strawberries. If using three cake layers, repeat once more. Top with the final cake layer and cover the top and sides with a thin layer of whipped cream. Pro tip: This is called a crumb coat—it seals in any loose crumbs and creates a clean base for your final frosting layer.
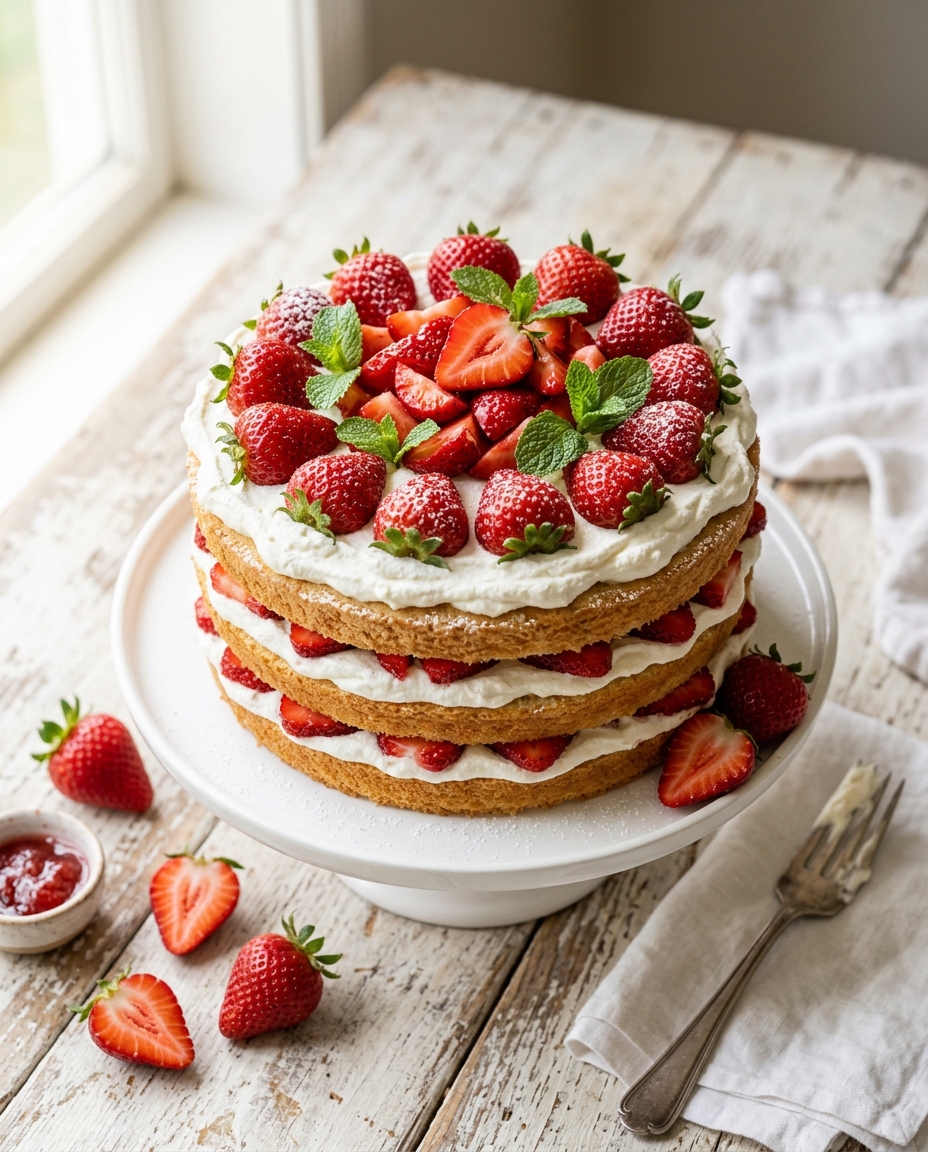
- Apply the final layer of whipped cream to the top and sides of your cake, creating gentle swirls or keeping it smooth depending on your preferred aesthetic. Arrange fresh strawberry slices on top in a decorative pattern, and add mint leaves for a pop of color. Pro tip: For a professional-looking homemade strawberry cake, chill the frosted cake for at least 30 minutes before adding your final strawberry garnish. The cold cream will be easier to work with and more stable.
Chill and Set
- Refrigerate your finished strawberries and cream cake for at least 2-4 hours before serving. This allows the flavors to meld together and the structure to set properly. The cake will actually taste better after chilling, as the strawberry juices will have soaked into the layers. Pro tip: Plan to make this quick strawberry cake at least 4 hours before serving, or ideally the night before. It actually improves with time!
Serve with Style
- Remove the cake from the refrigerator about 10-15 minutes before serving. This brings it to the perfect serving temperature. Slice carefully using a sharp, warm knife (dip it in hot water and wipe dry between cuts), and plate each slice with care to show off those beautiful layers. Pro tip: For the cleanest slices, use a long serrated knife and make smooth, gentle cutting motions. If the knife is cold, it may stick and drag; a warm knife slides through effortlessly.
Notes
- Macerate the strawberries with sugar for 15-20 minutes before assembling—this creates natural juices that flavor the entire cake
- Chill all equipment before whipping cream to achieve perfect stiff peaks without overbeating
- This cake actually tastes better made the night before, as the flavors have time to meld and develop