Ingredients
Equipment
Method
Prepare Your Ham
- Preheat your oven to 325°F (165°C). Remove the ham from the refrigerator about 30 minutes before cooking—this helps it heat evenly. Pro tip: Room temperature ham cooks more evenly than cold ham, resulting in a juicier final product.
- Place your ham cut-side down in a roasting pan. Pour water or pineapple juice into the bottom of the pan (not over the ham)—this creates steam that keeps the meat moist during baking. Pro tip: Pineapple juice adds subtle sweetness that complements the glaze beautifully.
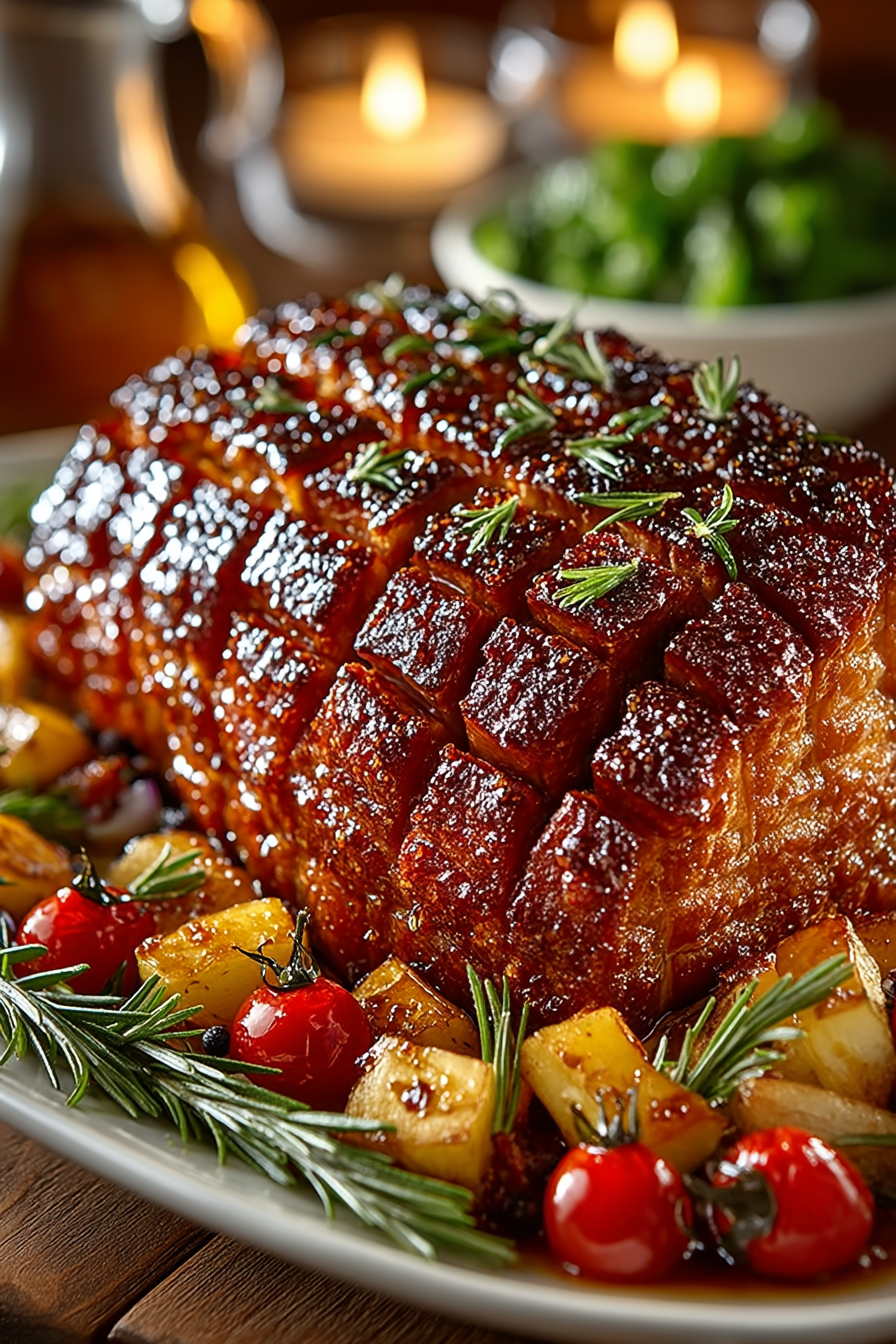
- Using a sharp knife, score the top of the ham in a crosshatch pattern, cutting about 1/4 inch deep. Don't cut into the meat itself—just score the fat layer. Space your cuts about 1 inch apart. Pro tip: Scoring allows the glaze to penetrate and helps render the fat for a crispy exterior.
Make the Simple Ham Glaze
- In a medium saucepan over low heat, combine brown sugar, honey, Dijon mustard, apple cider vinegar, cloves, and black pepper. Pro tip: Warm the mixture gently—you don't want to boil off the delicate flavors.
- Stir continuously until the brown sugar completely dissolves and the mixture becomes smooth and glossy, about 3-4 minutes. Remove from heat and stir in the butter until fully incorporated. Pro tip: The butter creates a more cohesive glaze that adheres better to the ham's surface and creates a silkier texture.
- Set the glaze aside to cool slightly for about 5 minutes before your first application. Pro tip: Slightly cooled glaze is easier to work with and less likely to run off the ham immediately.
Initial Baking Phase
- Cover the roasting pan tightly with aluminum foil. This covers the ham loosely and traps steam, which keeps the meat incredibly moist during the first phase of cooking. Pro tip: Don't skip this step—the foil is what prevents the ham from drying out during the long bake.
- Bake covered for 2 hours at 325°F (165°C). For a 7-10 pound ham, this equals about 12-15 minutes per pound. Pro tip: You don't need to baste during this covered phase; the steam does the work.
Apply the Glaze
- Carefully remove the foil from the roasting pan. Using a basting brush, generously brush the glaze over the entire scored surface of the ham. Pro tip: Push the glaze into the scored crevices so it gets into every nook and cranny.
- Return the ham to the oven uncovered and increase the temperature to 400°F (200°C). Bake for an additional 45-60 minutes. Pro tip: The higher temperature caramelizes the glaze into that gorgeous mahogany crust we're after.
- Every 15 minutes, baste the ham with the remaining glaze and the pan drippings. Repeat this process 3-4 times during this final phase. Pro tip: Frequent basting builds layers of glaze and ensures an evenly caramelized exterior.
Achieve Perfect Doneness
- The ham is done when a meat thermometer inserted into the thickest part (without touching bone) reads 140°F (60°C). Since most hams are pre-cooked, we're mainly heating them through and caramelizing the glaze. Pro tip: If your ham is labeled 'cook before eating,' ensure it reaches 160°F (71°C) instead.
- If the glaze is browning too quickly before the ham finishes heating, tent it loosely with foil to prevent burning while the interior continues warming. Pro tip: Every oven runs differently—trust your meat thermometer more than time estimates.
Rest and Garnish
- Remove the ham from the oven and let it rest in the pan for 10-15 minutes. This allows the juices to redistribute throughout the meat, resulting in a juicier final product. Pro tip: Use this resting time to plate other dishes or make gravy from the pan drippings.
- If desired, decorate with pineapple rings and maraschino cherries held in place with whole cloves for a classic presentation. Transfer to a serving platter. Pro tip: Classic decoration isn't necessary but does elevate the presentation for holiday meals.
Notes
- For a 10-pound ham, calculate approximately 15-18 minutes per pound at 325°F for fully cooked hams. Always use a meat thermometer to verify doneness at 140°F rather than relying solely on timing, as oven temperatures vary significantly.
- The crosshatch scoring is essential for this recipe's success—it allows the glaze to penetrate the fat layer and helps render the fat, creating that crispy exterior while keeping the interior moist.
- Don't discard the pan drippings after cooking. Strain and serve them as a sauce, or simmer with a bit of broth to create a rich gravy that perfectly complements both the ham and your side dishes.